with Brandy Black, Store Manager at Oak Ridge Goodwill
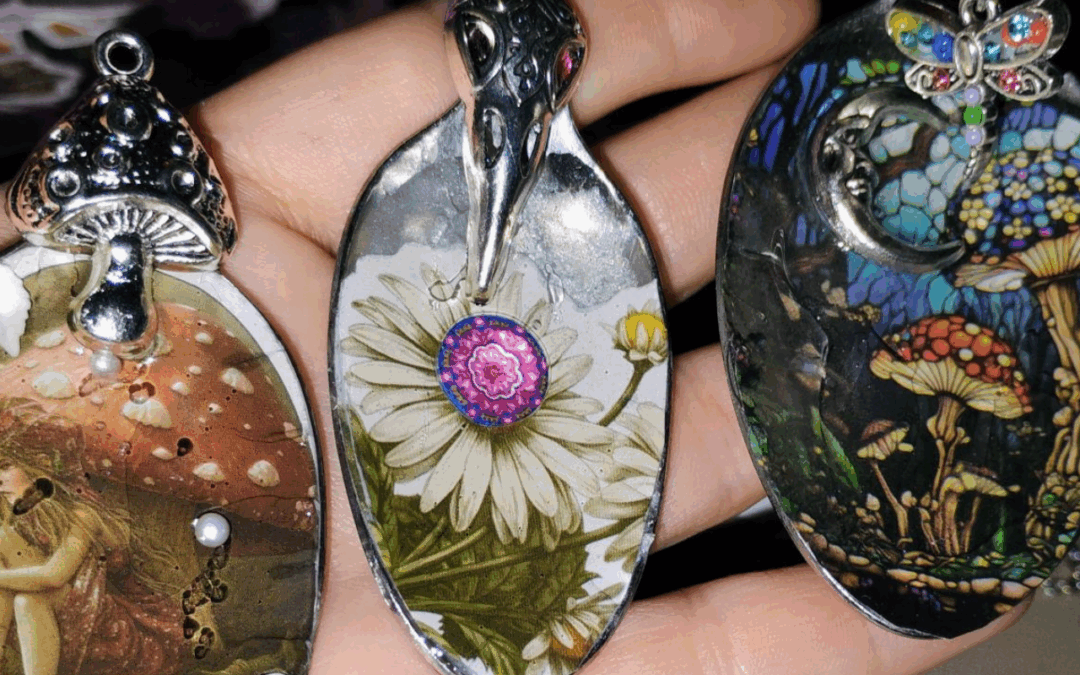
I’ve been experimenting with a new type of upcycle project. I use UV resin, stickers, charms, and thrifted spoons from Goodwill. The hardest thing is cutting the spoon in half! And I’ve found that UV resin works better than most glues.
So Let’s Get Started!
")
1. Prepare the Spoon
Cut the bottom bowl part of the spoon away from the stem, then use a small drill with a grinder or sandpaper to smooth the cut edges of the spoon.
Clean the spoon bowl thoroughly with isopropyl alcohol and let it dry while you gather your stickers, charm, UV resin, and UV lamp.
This is important!
Remember to always put on gloves when handling UV resin. If you do get if on your hands, stop and wash your hands immediately with soap and water. Depending on the UV resin you are using, some may dry faster than others when exposed to skin. Read all warning labels and instructions before using.
")
2. Prepare Your Sticker & Arrange Elements
Using the spoon bowl as a stencil, place the spoon bowl over the sticker and trace around it with a pen or marker. Then carefully cut the sticker to fit the shape of the spoon bowl.
To ensure the sticker fits well, you may need to cut four small slices into the sticker: two on the top edge and two on the bottom edge to help it conform to the curve of the spoon.
Apply your cut sticker to the spoon bowl, pressing out any bubbles. Place your charm (and any other small decorations) on the spoon bowl as desired.
")
3. Apply the Resin & Cure
Drizzle a thin layer of UV resin over your design, ensuring it covers everything. You can use a toothpick to gently spread the resin and pop any air bubbles.
Place the spoon bowl under the UV lamp and cure until the resin is hard and not sticky (follow your lamp’s instructions, typically 1-2 minutes). Add more thin layers of resin and cure them individually if you want a thicker, domed look.
Side Note: Always read your specific UV resin product’s instructions. Some resins may require a stronger UV light than others for proper curing. For a reliable option, I recommend LET’S RESIN UV Resin Kit with Light, which can be found at most craft stores.
4. Final Check
Ensure the resin is fully cured and hard to the touch. If the top layer of resin feels a little sticky, hit it with a heat gun or add a small amount of fresh resin and place back under the UV light for another 5-10 minutes.
")
")
")
")

About the Artist
Brandy Black
As a local artist and the store manager at Oak Ridge Goodwill, I aim to create unique pieces that reflect both artistic vision and sustainable practices. Each piece I create offers a new life to discarded materials.