336-275-9801

Transform a Picture Frame into a Focal Piece

College Dorm Room DIY

Your first year of college means everything is new to you. You are faced with a new school, environment, people, and of course, so many new adventures. It’s a time in your life were you are pushed out of your comfort zone and ready to take on the world one step at a time. People say college is some of the best days of your life, and they are not lying, so take advantage of every opportunity.  


Throughout my years as a college student, I have had so many new adventures. I was able to meet wonderful people along the way, helping me create memories that will last a life time. Looking back, I am very fortunate to say that I have enjoyed every second of these memories.


Going into my last year of college, I wanted to create something that would remind me of all the great times I have had over the years. A piece to look at to remind myself of all the special people in my life and the memories we created. I thought the best way to show these memories off was to create a memory photo board that I could hang in my apartment living room. It could be a piece for friends and family to look at and rekindle all the great times we had spent together.


This could also be a great idea to use in a dorm room because it does not take up much space on the wall and you can put it anywhere.  Depending on your space you will have to determine how big you want this piece to be. Since this project is made from a picture frame, the options are endless on the size, color and style. 

My local Triad Goodwill has a great selection when it comes to picture frames. from big to small, they have them all. 


Listed are the supplies and steps I took to create this wired photo board.

    • Picture Frame
    • Paint-If needed
    • Wire
    • Tape Measure
    • Scissors 
    • Staple Gun/ Super Glue- Your choice
    • Picture of all sizes 
    • Clothes pins 

    The Perfect Frame

    This is the picture frame that I found at my Triad Goodwill. 

    I was very happy to come across something like this because it look like someone had never used it. What caught my attention was the rustic detailing that was along the sides, this gave the frame the character that I was looking for.

    I knew if I went with this frame then I would not need to paint it to match my apartment living room.

    Step One

    The first step was to take the back of the picture frame out. 

    When I purchased the frame, I noticed that there were some staples hanging on the back side holding the picture in place. Once I removed them, I was able to get the rest of the picture out without any trouble. 

    Removing the back side of the picture frame would give me a clean slate to work with. 

    Step Two

    If your picture frame needed to be painted this would be your next step. I liked the color of the one I bought so I skipped this step and moved on to the next. 

    After, it was now time to cut the wire that would cover the whole surface of the frame. This would allow you to hang your pictures once completed. You could find this wire at any home improvement store and buy it by the foot. 

    I measured the length and width of the frame with my tape measure and made marks on the wire for where I would make my cuts. 

    The cuts I made were 17 1/2 x 20 inches. 

    Step Four

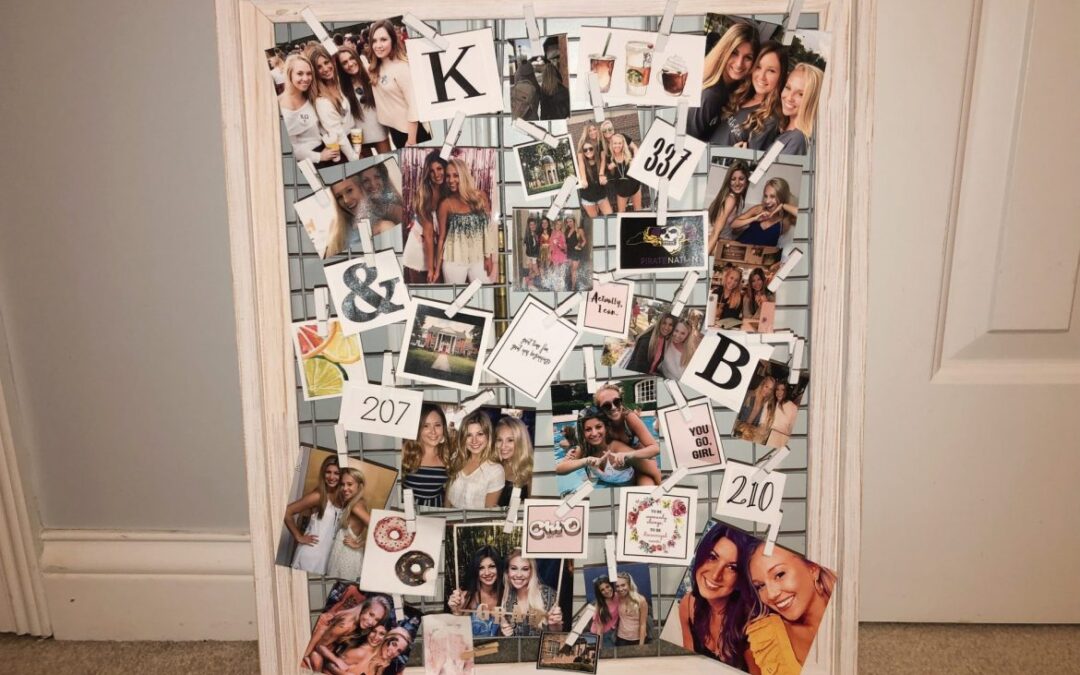
    Once I had made my cuts, I needed to attach the wire to the frame. I figured the easiest and strongest way to do this was to use a staple gun. You could also use glue if you wanted, but, I happened to have on lying around in the garage. 

    I made sure all my sides were lined up and straight, pulling the wire tight so it would not be too flimsy, and stapled along the top and bottom making sure each side was secure. 

    I stapled every other wire along the frame, just to make sure it was not going to go anywhere. 


    Step Five

    Now this is the fun part of the project, filling up the board! I found some of my favorite pictures and memories throughout the years of friends and family. I printed off pictures in different sizes,making the board look more unique and fun. 

    I also added words and quotes that were important to me and stood out. The fun part about this step is that you get to make it as personal as you want. I bought some clothes pins at a craft store (which you can find at almost any store) and hung the pictures that way.