Decorating a nursery can be a daunting and expensive project, especially when you innocently decide to peruse Instagram or Pinterest for #NurseryInspiration or #NurseryDesign.
Luckily, I love DIY projects and consider myself somewhat crafty, so I took a closer look a lot of my favorite “looks” and realized there were some easy ways to upcycle items from my local Triad Goodwill to make them swoon-worthy – even by internet standards
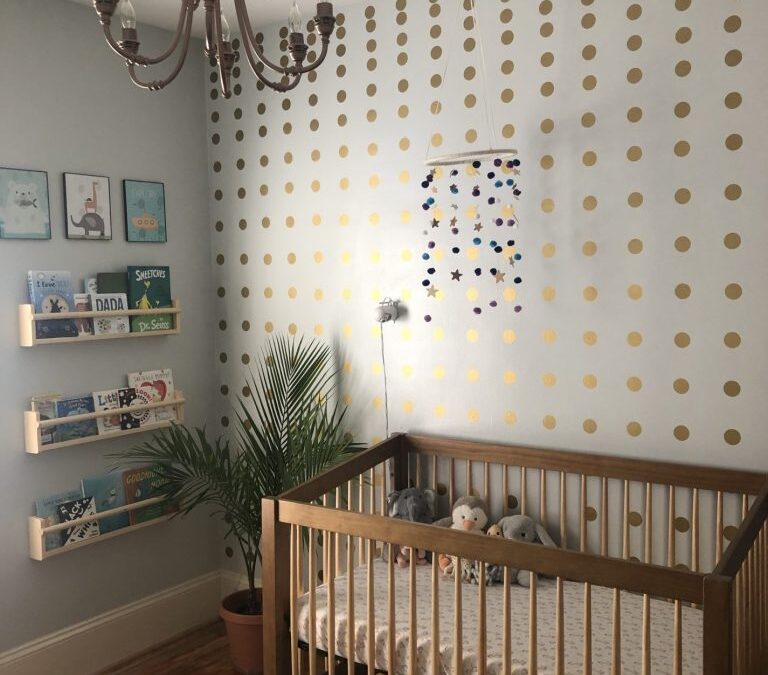
When planning our gender neutral nursery my husband had ideas on colors as opposed to a “theme.” The color pallet we created featured a pale blue/grey, called Pelican, gold, rose gold, and natural wood tones. We knew the walls would focus on Pelican & gold, and the furniture would fall into the natural wood tones, so the hunt for rose gold lighting and accessories began.
Unfortunately, I didn’t find any lighting at my Goodwill that fit that description, but what I did find was a large, simple, peach-colored chandelier that was just begging to be transformed into a metallic rose gold statement piece.
Best part? It was only $10.99!


The chandelier did come with globes, however they were frosted and had an orange tint to them, which created a hue we weren’t big fans of, so we ended up donating those right back to the store!
After our trip to Goodwill, we ventured over to a home improvement store, purchased 3 cans of metallic Rust-Oleum spray paint in Metallic Copper.
A few sheets of sandpaper, 1 can of spray paint, and a respirator later (safety first) the peachy shabby chic chandelier was transformed into a smooth, sleek, rose gold gilded conversation starter.

Now, how to handle the lack of globes?
My brilliant husband came up with the idea of using a fitted PVC pipe to slip over the threads and installing low wattage, small bulbs (so-as not to blind ourselves every time we turn it on).
He measured the diameter of the bulb area as well as the height of the thread area, cut the piping, and threaded them on a string to make spray painting easier. A few coats of paint, a little dry time, and we were ready to slip the covers over the threads, and voila! It was ready to install!
